The Page Layout Ribbon in Excel
The PAGE LAYOUT ribbon will be used to set up the visual style of your
Excel Spreadsheet.
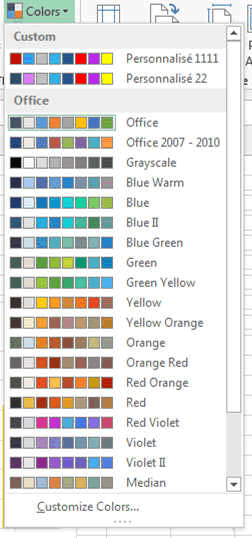
You can arrange the colours of the text, the tables,
the titles, etc... With this menu you can also select what you want to see
printed on the paper. How much you can fit on one sheet of paper can be
selected here. And finally it is used to manage the layers. Layers is
important when you want one image in front or behind another.
Here a quick overview.

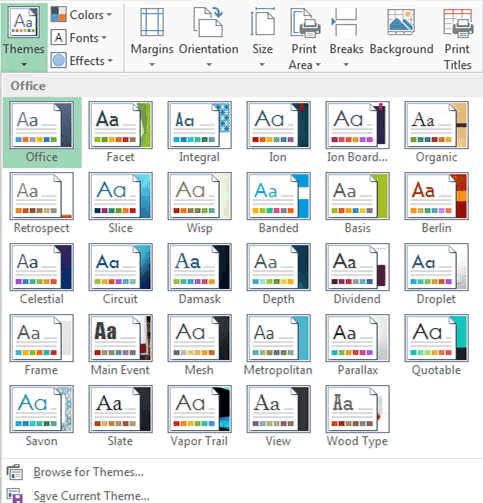
The Themes is the main part here and allows you to setup a predefined theme, meaning uniform colour scheme, font and size, spaces etc...
Here the various predefined themes Microsoft has selected for you. Be
aware that these themes have been done by professional designers and
marketers and therefore will make your print outs look professional.
You can of course create your own personal or company theme.
The Page Setup area allows you to do everything that is related to how your document is going to look out once printed or projected. You can setup the margins, the orientation, the size of the paper and also very important and nice is to be able to setup the background of your sheet with a picture, a theme that will make your sheet look great but it will not be printed (saving you ink). To add a background on print, you have to do this with a watermark by using the insert menu's header and footer function.
The Scale to Fit area allows you to fit your whole document on 1 or more pages vertically and horizontally.
The Sheet Options area allows you to render the lines of the cells and the headers (A,B,C,... 1,2,3,...) visible or not.
The Arrange area allows you the very important function of moving picture or tables or texts in front or behind each other. You can also group or rotate items.